Ubuntu Linux
Ubuntu Linux
“A lot of people say if they could go back in time they would not change anything. But, to be honest with you, I like it and I don’t like it. I like the fact that all I went through as a youngster made me a great man, but just goin’ through what I went through - I wouldn’t wanna go through that again. I wouldn’t wish that on nobody.”
—Gucci Mane
Comments in the original Bitcoin source code suggest specific patches for Ubuntu 9.10 (Karmic Koala). This also implies that perhaps Nakamoto used this Ubuntu distribution and version for the initial operating and testing of Bitcoin on Linux.
Based on this premise, the goal of these notes are to capture the process of deploying an Ubuntu 9.10 Linux virtual machine (VM) environment with the aim to conduct the following hands-on research projects:
- Build Bitcoin from source code
- Run the Bitcoin app
- Install and run OpenOfficeOrg Writer for research related to the whitepaper document
UTM virtual machine
Prerequisites:
-
Ubuntu 9.10 (Karmic Koala) 64-bit PC (AMD64) desktop CD from Ubuntu old images
- a3f9c534e005729fbed3856239b1ec3341fef8d0d20c1d92aab2bcf844985eee ubuntu-9.10-desktop-amd64.iso
Deployment steps
Follow these steps to prepare an Ubuntu 9.10 environment in UTM.
- At the Welcome to UTM dialog, choose Create a New Virtual Machine.
- Select Virtualize.
- Select Linux.
- For Boot ISO image choose Browse, then find and select the ISO file.
- Click Continue.
- On the Hardware dialog, click Continue.
- On the Storage dialog, enter 4 into the input.
- Click Continue.
- On the Shared Directory dialog, click Continue.
- On the Summary dialog, change the Name to
Ubuntu 9.10. - Click Save.
- Right-click the new VM and choose Edit.
- Click the System tab.
- Under CPU, select Intel Xeon Processor (Skylake) (Skylake-Server-v1).
- Click the QEMU tab.
- Under Tweaks, remove check from UEFI Boot.
- Click the Display tab.
- Emulated Display Card: Spice QXL GPU (primary, VGA compatible) (qxl-vga)
- For VGA Device RAM (MB) enter
128. - Click Save.
VirtualBox virtual machine
Prerequisites:
-
Ubuntu 9.10 (Karmic Koala) 64-bit PC (AMD64) desktop CD from Ubuntu old images
- a3f9c534e005729fbed3856239b1ec3341fef8d0d20c1d92aab2bcf844985eee ubuntu-9.10-desktop-amd64.iso
Deployment steps
Follow these steps to prepare an Ubuntu 9.10 environment in VirtualBox.
- Start VirtualBox app.
- Click New.
- For Name:, enter
Ubuntu 9.10. - Click the dropdown next to ISO Image: and select Other….
- Browse to your
ubuntu-9.10-desktop-amd64.iso, select it, and click Open. - Click Finish.
- Right-click Ubuntu 9.10 and select Start > Normal Start.
Ubuntu installation steps
Follow these steps to perform a basic Ubuntu 9.10 installation.
- Choose a language.
- Select Install Ubuntu and press
return. - Choose a language.
- Click Forward.
- Choose a timezone region, and click Forward.
- Choose a keyboard layout, and click Forward.
- Leave all options on Prepare disk space as-is, and click Forward.
- Enter your preferred name value.
- Update your preferred username value if necessary.
- Choose a password, and confirm it.
- Update the computer name if necessary.
- Click Forward.
- Click Install.
- Click Restart Now when the installation completes.
- Press
returnwhen prompted to press ENTER. - Ubuntu boots from disk instead of the ISO image to a graphical login dialog, and you can click your username to login after entering your password and pressing
return.
Post-installation setup
You need to install the VirtualBox Guest Additions to get better screen resolution, etc.
- From the VirtualBox Devices menu: Insert Guest Additions CD image….
- In Ubuntu, click Applications > Accessories > Terminal.
- Within the terminal app, execute the following command:
sudo /media/cdrom0/VBoxLinuxAdditions.run
When that process completes, you can close the terminal app window and File Browser window.
- In Ubuntu, click System > Preferences > Display to.
- Select a Resolution from the dropdown, like 1280 x 1024.
- Click Apply.
- Use the VirtualBox View menu to choose Scaled Mode, and drag the window to the size you like.
- Within the Ubuntu UI, right-click the
VBox_GAs_x.x.xdisc icon, and click Eject to eject the VirtualBox Guest Additions disc.
Ready to go
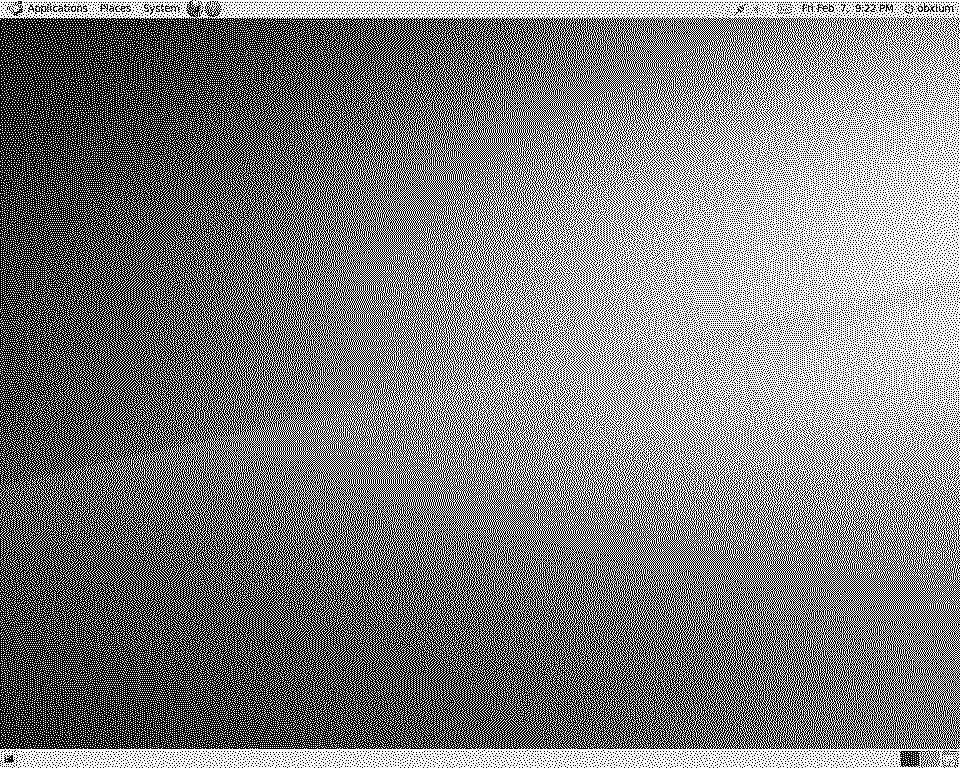
Provided all went well, you should have an Ubuntu 9.10 desktop like this:
Other versions
Nakamoto also mentions building on Ubuntu 10.04 in June of 2010.